Step 1: Create a Project
Navigate to the Annotations page and click the + Create project button at the top right. On the creation page, fill in the required project information:
- Name – Internal name of your annotation project.
- Description – Optional. Helps team members understand the scope.
- Instructions – Optional guidelines shown to annotators for consistent labeling.
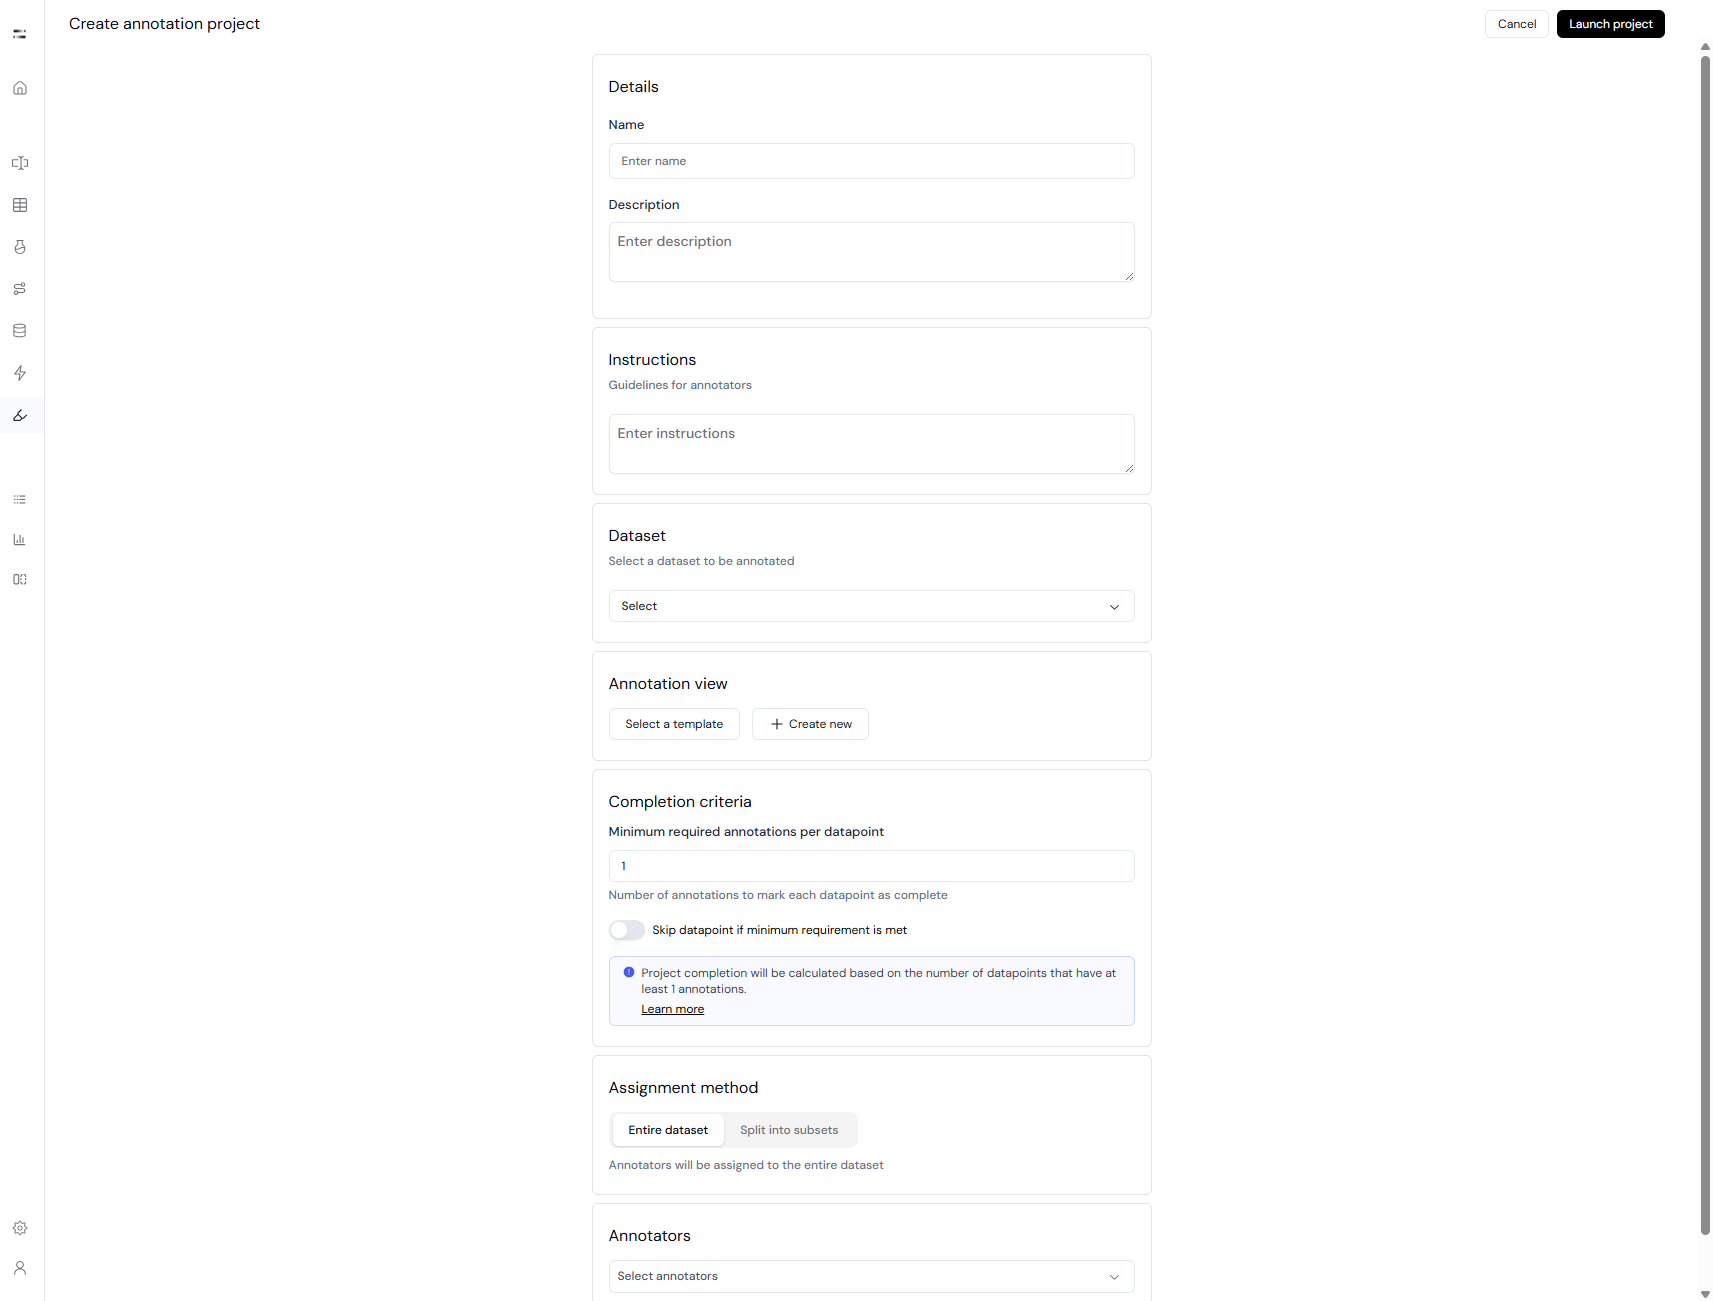
Step 2: Select Dataset
Choose a dataset from the dropdown.Currently, only existing datasets can be selected.
- Supported file formats for datasets:
.jsonl,.json, and.csv - If needed, upload the dataset from the Datasets page beforehand.
Step 3: Define Annotation View
Annotation View determines what annotators see and how they interact with the data.- You can select a template (predefined configuration) or create a new view.
- Define:
- Which fields are visible (e.g., input, output, metadata).
- Whether fields are editable, required, or markdown-enabled.
- Labels to be collected (e.g., category, number, comment).
View configurations can be reused across multiple projects.
Step 4: Set Completion Criteria
Define how many annotators must label each datapoint.- Minimum required annotations per datapoint:
Determines how many independent annotations are needed before a datapoint is considered complete. - Toggle: Skip datapoint if minimum requirement is met – allows annotators to skip fully-labeled entries.
If you set this value to
2, each datapoint must be labeled by 2 different annotators to be marked as complete.Step 5: Choose Assignment Method
Select how to distribute annotation workload:- Entire dataset – All annotators label the full dataset.
- Split into subsets – Automatically or manually divide the dataset and assign different subsets to annotators.
Step 6: Assign Annotators
- Search and add your team members as annotators.
- Depending on the assignment method, they will receive:
- All datapoints (entire dataset) or
- Only their subset (split mode)